Every page of your section/ proposal or template will have one or more blocks of text, image, shape, fee table, content table, initials, input forms, signature, table of content, snippet library, fee summary, attached files list, pricing packages, etc.
Following blocks are available for proposer creator to add to the page (depending your plan)

This is where you will be able to find those blocks/ components in editor.
There are two ways to add textbox (or most other blocks).
You can click on the icon to add it to the page or you can drag-the icon and drop it to the desired place on the page.

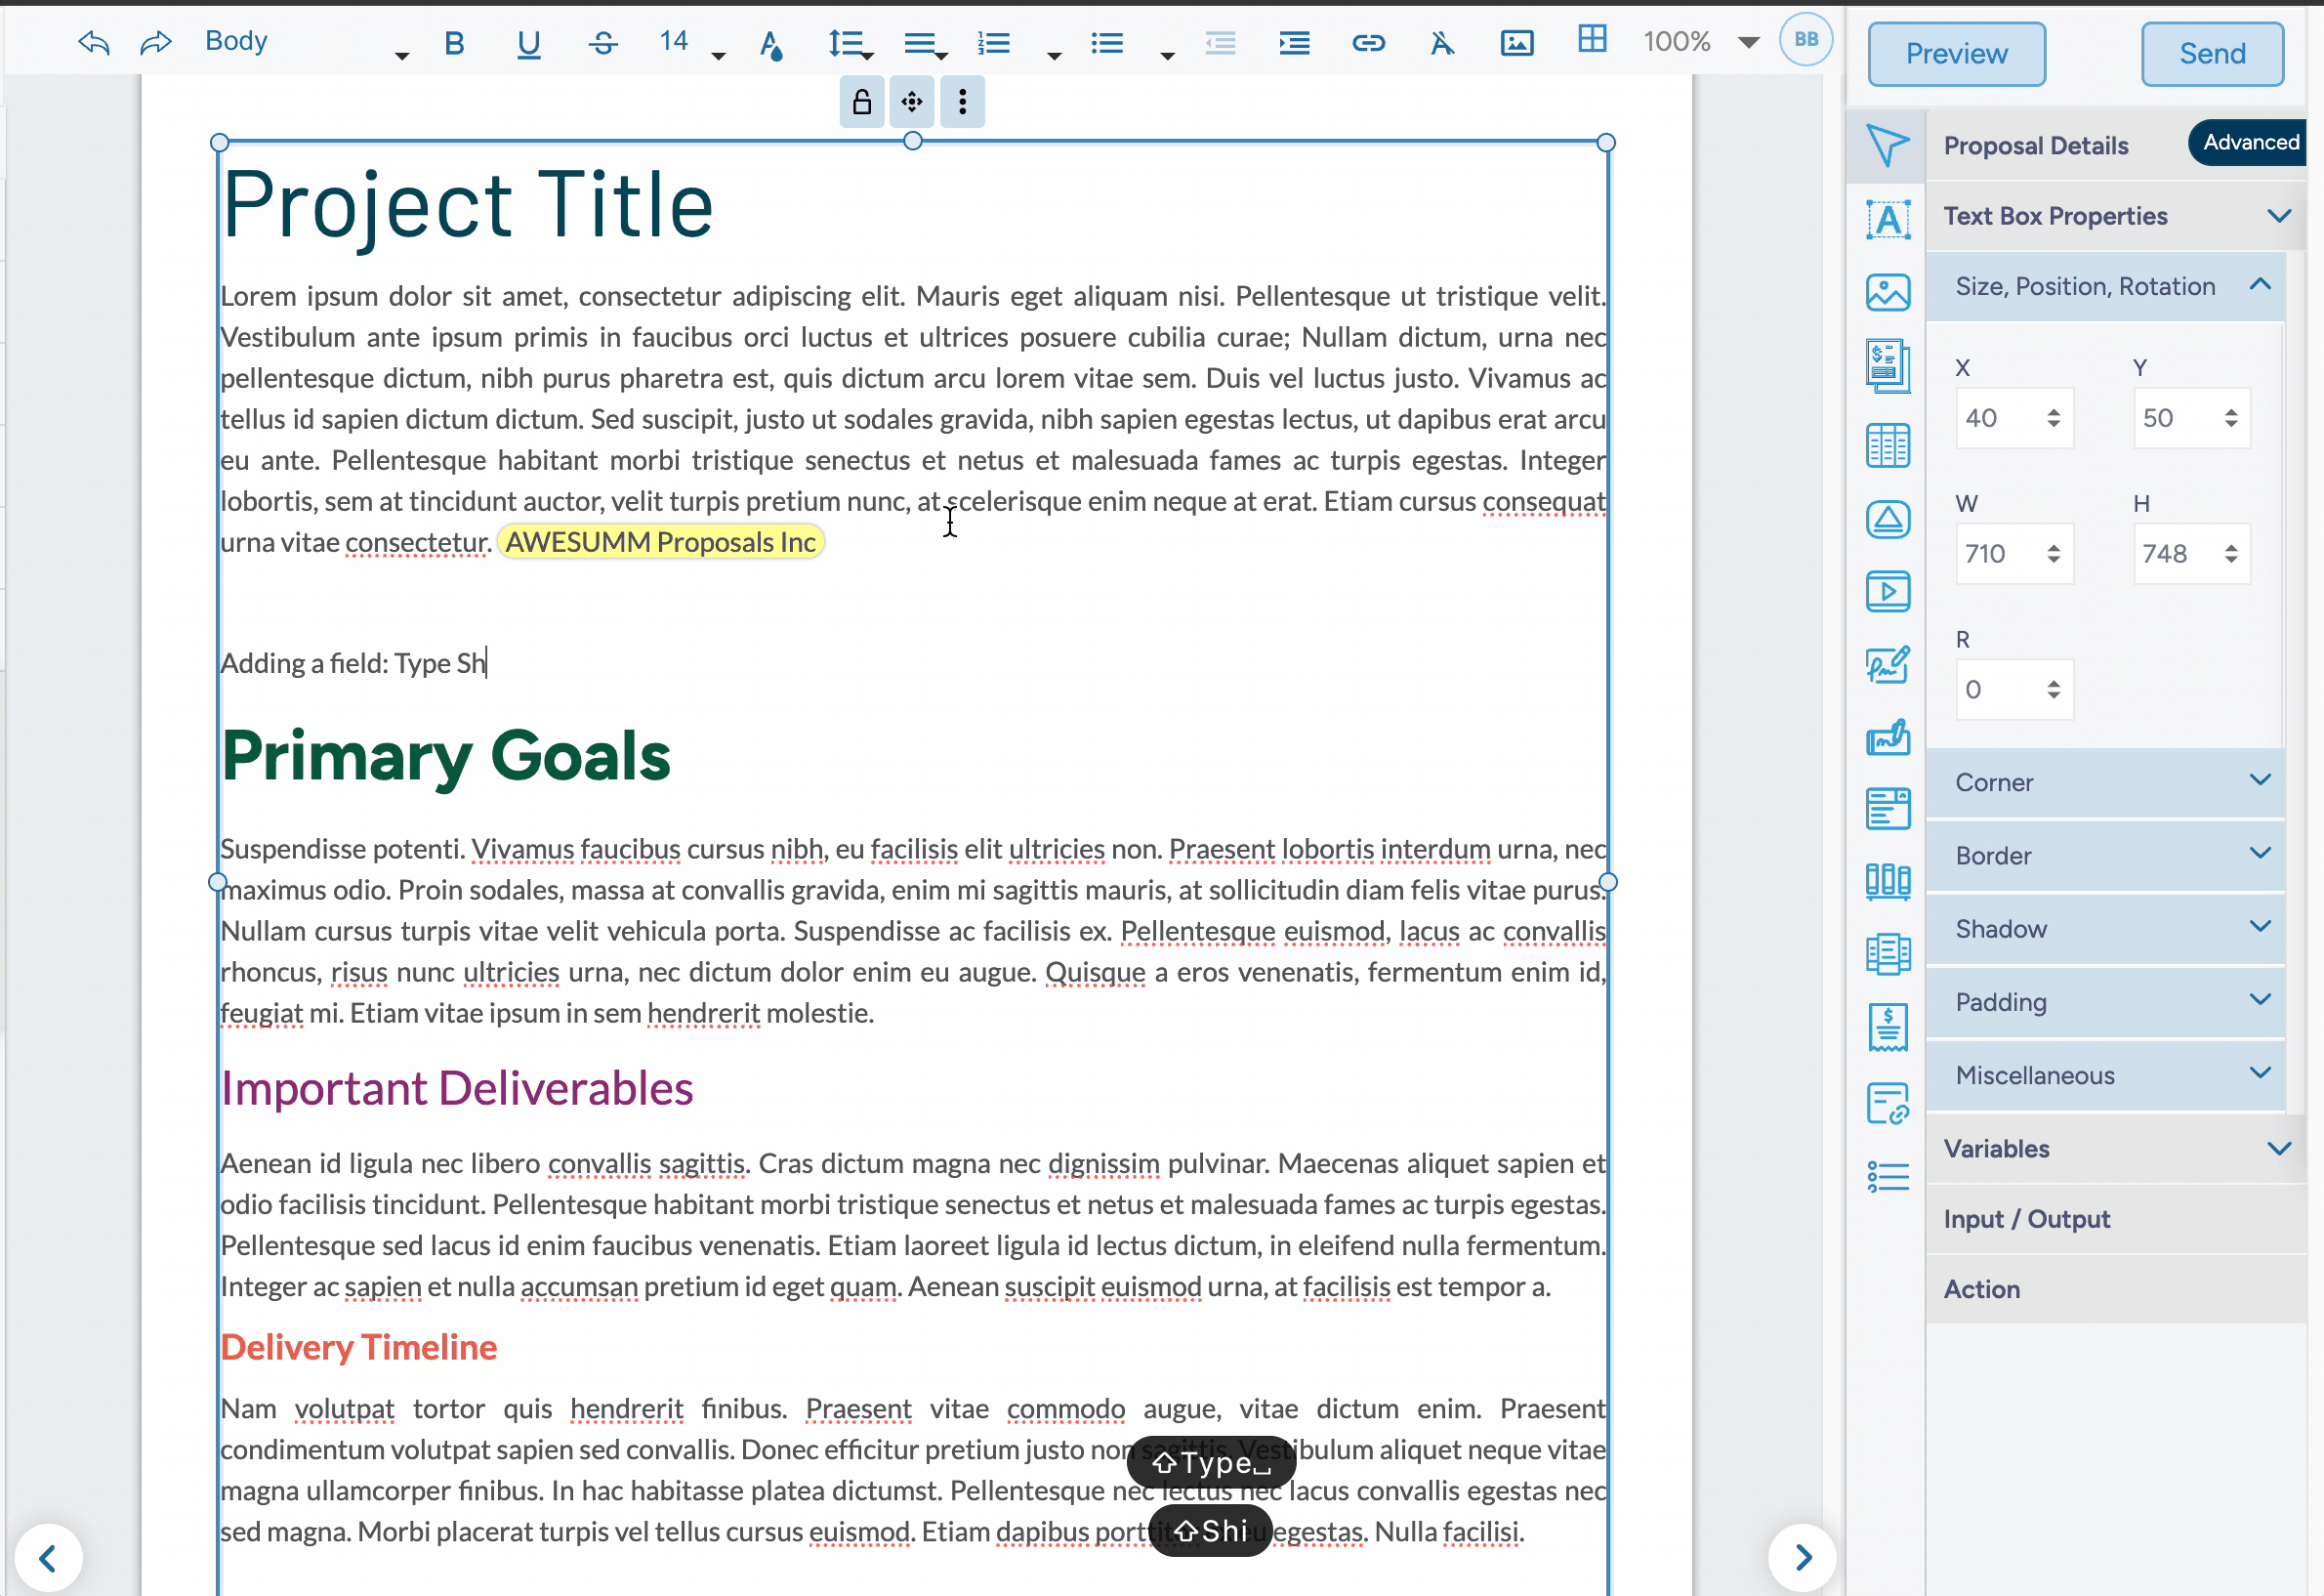
Adding Textbox
Following video will quickly show you how to add update, format text to your section/proposal or template.

Adding Textflow Section
When you have a text content that is going to run into more than one page, you can add a textflow section to your proposal/template. You can either copy-paste content to it or you can keep typing text to it.
Textflow section:
It allows you to keep editing text content and it will automatically flow to the next page.

It looks like this

As you will add the Textflow section, it already has a textbox added to it. While you can add other content blocks from the side bar, the default textbox will remain part of the textflow section. You can copy-paste your text or keep typing text content, as you will reach to the bottom of the page, it will automatically create a new page and start adding new content to the next page. Here is the video tour of this feature.
For textflow section, we have introduced page margin in proposal / template editor > Advanced > Page Settings.
Set Para style, Font-color, Font-size to Selected Text
You can select a given text and you will notice the toolbar at the top gets activated. You can assign paragraph style, bold the text, underline it, change the font size, change color, change alignment, etc.

Text Toolbar
Here are various text formatting options you can have.

Want to change paragraph style - move to this guide.
Add external link to Text
You can add link to selected text.
Copy-Paste From MS Word, Website, Google Doc or PPT
Starting from scratch or using existing template, you would want to get your own content from your website, Word file or PPT to be included in your proposal/template in Fresh Proposals.
Your text as it is formatted in the Google Doc will be pasted to Fresh Proposals editor such that, text with Body paragraph style in Google doc will become Body paragraph style in Fresh Proposals
text with Heading1 paragraph style in Google doc will become Heading1 paragraph style in Fresh Proposals, and so on. You can change the font-family, font-size, color, etc for entire document using Advanced Option > Settings > Text Style Settings within editor. Also note, you can override the font size, font color by selecting text in the editor and set properties using texttoolbar editor displayed above.
Before you copy-paste,, straight into the proposal/template editor, hold on for a few moments and follow these steps. MS Word, website/Google Doc insert their own tags which may make them 'unformattable' in Fresh Proposals. Please note, while we attempt to remove such inline styling or inner html tags, sometimes not all tags can be curated. 'Clear Formatting' options as seen above may help.
Adding Placeholder Variables
When you do not want to keep copy-pasting common text or avoid errors, you can use dynamic fields (also called variables). These are special textfields that you can use in your proposal and do not have to change its value in each place wherever it is used. You just have to change it at one place and it will be updated across all places in the document.
There are different kinds of variables you can use and each of those variable can have different data-types.
Refer this guide for more information about adding, changing placeholder variables and Custom Variables.
Adding images in the textbox is now supported
We now support adding images to textbox within the textbox. Use text toolbar shown in the top, click on the image icon as shown below. will allow you to add an inline image. You can change alignment of the image if you would like.

The previous work-around can still be used: Add image outside the textbox or content table as a layer and position it at a desired place.
Was this article helpful?
That’s Great!
Thank you for your feedback
Sorry! We couldn't be helpful
Thank you for your feedback
Feedback sent
We appreciate your effort and will try to fix the article